Sunday 28 June 2020

Command and Colours chill day

My son popped round for a few hours today and he had asked if we could continue our Command and Colours AWI run through.
Today we went for the Battle of Monmouth, again I just ran with the game scenario and didn’t look too closely at the accuracy of the oob’s.
After the first couple of moves my Continentals and Rifles were pushing forward on the left and being countered by British lights and regulars
The cards I was drawing was certainly favouring my left flank what few cards I drew for the centre I used to shift troops to the left my troops on the right and centre right were under mounting pressure
And then it all seemed to go wrong my push on the left caused the British to pull back to the centre and despite this my troops couldn’t hit the proverbial barn door and the British light guns forced my batteries off the ridge whilst British light cavalry on my right successfully chewed up some regulars and a battery
A co-ordinated assault by the British in the centre and their left flank put an end to any hopes I had of winning. Another close game, a most enjoyable way to spend a Sunday afternoon. A few more scenarios to play yet before the French arrive.

Friday 26 June 2020

Trouble with blogger?

Just a short post to sound people out, I know we will all be moving to ‘new blogger soon’ but is anyone having problems with comments etc.
I suddenly find I can’t reply to comments made on my blog in either old or new set up.
I’m also finding that I can’t leave comments on the majority of blogs especially using the new iPad
Just reaching out?

Thursday 25 June 2020

Battery painted

Thought I’d make the most of the weather so in between gardening slapped some paint on the coastal battery, the doors are still to do and a little more weathering but it’s looking better.


Wednesday 24 June 2020

Back to some printing

I needed a break from the paint, many years  ago the Teesside triumvirate as Duncan used to call us had plans to do an 18th century version of the raid on St.Nazaire, well I’ve dug the notes out and started drafting some more plans on board layout etc.
Of course since those early days the advent of 3D printers has developed so I’ve made a start - up first is the coastal gun battery 


Very happy with the result, as tomorrow is forecast more sun may look to adding some paint to this and start printing the dockside and landing stages. 😁


Tuesday 16 June 2020

Another 'Scenario for all Ages'

Yesterday my son and I played another battle pulled from the excellent publication ( I'd really forgotten how good this book is)

This time it was 'Flanking Force' and is loosely based on the Battle of the Boyne.
The French ( commanded by moi) had 9 regiments of foot, 8 squadrons of Horse and 2 batteries.
Of this 3 regiments of foot, 4 squadrons of horse and a battery had been detached as a flanking force to cross by a Ford and outflank the allied position.
The remaining infantry were deployed in two waves prepared to assault the village - this being the objective to force the allies from the village and hence make their position untenable.
The river is crossable in front of the village and part way along the straight.

The Allies had 6 regiments of foot, 6 squadrons of horse and two batteries.
Major General David Graham surveyed the deployed French army before him, he assigned 3 regiments of foot to hold the village, two more were ordered to deploy along the banks of the fordable river facing the enemy Cuirassiers. Two squadrons of Horse Guards were deployed to their rear.
Marching to the flank to face off against the enemy flanking force were 4 squadrons of  Horse and one regiment of foot.
The Buffs occupy the outskirts of the village two more regiments are advancing in support
Looking out from the French left flank
The British flanking force is moving swiftly to prevent the French deploying in strength


French cavalry cross the ford in an attempt to out flank the British line
The British cavalry begin to deploy their oders are to prevent the French from deploying in force.

Major General Graham decides to send only one regiment of foot to the flank the other he turns to line the river to counter the threat of the French Cuirassiers.
As the French Infantry assault goes in the cuirassiers advance! their orders were to keep the British Infantry pinned, buying it with their blood.
Three regiments of the Irish Brigade push forward through  cannon fire and close to musket range

early engagement of the cavalry on the Allied left was evenly matched although the Swiss Regiment with its opening long range volley obliterated a whole Allied squadron (an incredible number of 5's and 6's from Diesbach )


The Irish Dillon regiment got the better of the Buffs early on causing them to break, Bulkeley to their right was trying to force their way into the village.
The cavalry melee on the allied left hots up and the Horse Guards are dispatched to lend their support.


The action on the allied left continued to swing to and fro Diesbach and the 36th exchanging volleys and casualties, a lucky charge by the British dragoons caught the second Swiss regiment before it could fully deploy


The French cuirassiers continued to pose a threat and die for the pleasure
The fight in the village rages on under a hail of cannister Dillon presses forward causing casualties on the Artillery and causing the survivors to flee, however with further volleys from the supporting British foot Dillon fell to below 50% and was forced to abandon the attack

They were replaced by Perigod who advanced forward to resume the attack as they advanced Officer casualties mounted to the point the regiment faltered by this time all three regiments of the Irish brigade were in retreat and the French second line were pressing, La Marine to the left of Perigod had fought their way into the village and Royal Italian to Perigod's right were offering support but paying a heavy price.


Perigod could take no more their loss of Officers causing the to retreat at the same time the British opposing them had thrown incredible morale dice all game but eventually they fell to below 50% and had to withdraw.
On the Allied left the French had reformed the third Swiss Regiment Sallis had deployed, the artillery battery had deployed and the remaining squadrons reformed.


Opposing them one battered English regiment a little over 50% and two and a half squadrons of cavalry.


Both sides had fought themselves to a standstill, however La Marine was firmly ensconced in the village and Major General Graham decided he didn't have the strength to try and retake the position so he called a general retreat.

This game swung back and forth with extreme dice throws on both sides. One of the bloodiest battles I have fought and certainly a Pyrrhic victory for the French

A thoroughly enjoyable game for both of us. We shall be returning to the 18th century again in the not too distant future and using more scenarios from the publication.

Saturday 13 June 2020

Off the bench and another scenario

Spent part of day finishing off a few figures, first up 12 more bases of highlanders, standards haven't been issued yet as I need to get the collection out and work out exactly where I am. In the meantime another 24 are prepped!

The Roger Rangers jumped the queue and I've enjoyed painting these. Some of Richard Ansell's best figures to date. More will be done but in the meantime these will suffice. Next up to finish the Hurons! In the back ground you will see the new updated version of the classic game originally published by Avalon Hill. Not had time to read the rules yet but the new production standard is awesome, expanded game etc. I'm looking forward to playing this.


My Son definitely has the 18th Century bug and another game is planned for tomorrow. Another scenario from Charles Grant's and Stuart Asquith's book. Troops will be deployed in the morning and a battle report will follow. Think I need a back drop for the wall though!

Sunday 7 June 2020

Rearguard Action


During this crazy time my son and I have been trying to get a weekly game in. This week he asked if we could do 18th century - he admitted he's never looked too closely at my figure range and other than the Jacobite rebellion knew very little about the period. So as an introduction I thought I'd set up a small battle but as I'm not keen on set piece actions I reverted to one of my favourite publications and the Rearguard scenario. I've played it quite a few times and its always resulted in a good game.

So Major General David Graham with two brigades (6 battalions ) of foot, 4 squadrons of horse, a battery of 6 Pounders, some allied Jaegers and some engineers was tasked in delaying the French advance guard. To ensure the allied supply train crossed the only bridge in the area and to withdraw at least 60% of his force before successfully destroying the pont de soupirs.

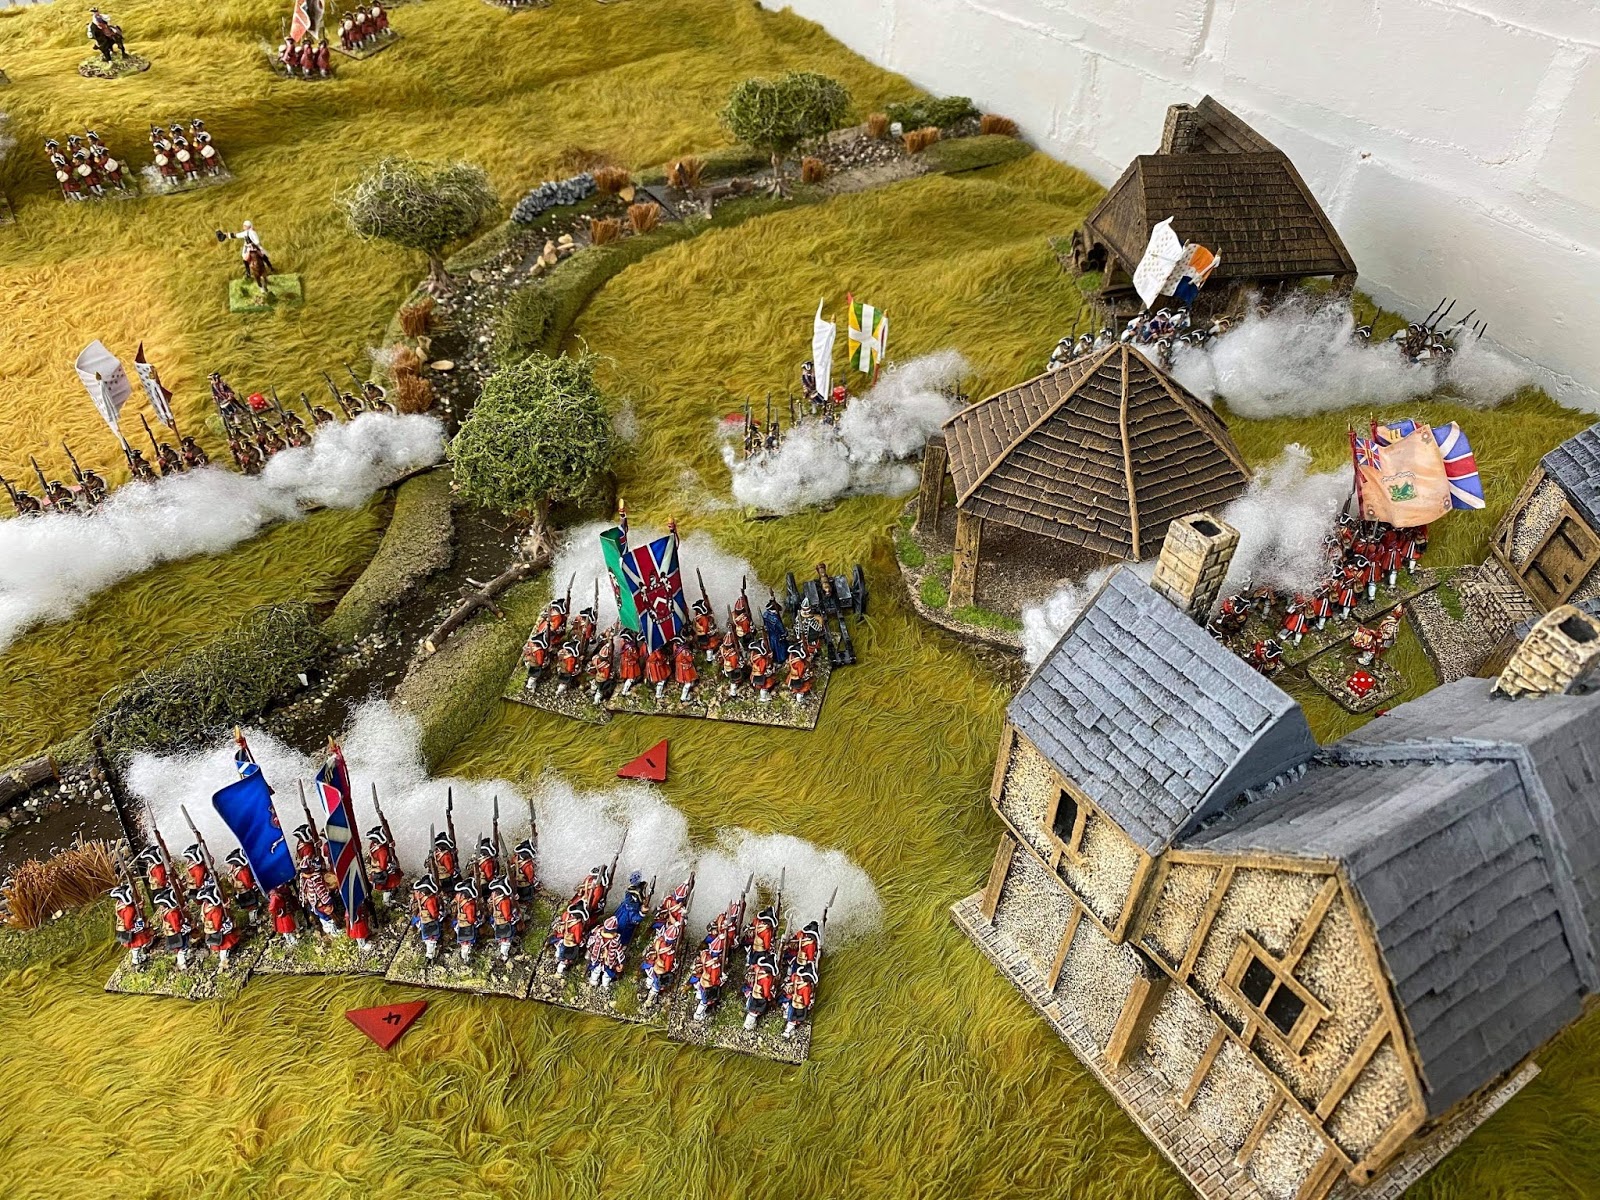
As dawn broke his small force stood to his front line was deployed around the ferme de taillis and his second line around the village Brulure de Sel. Suddenly to the East the sound of drums beating carried with the wind, the early morning sun reflecting off enemy bayonets as the French arrived!


The rules used are my go to for the period -Charles Grant's the Wargame. With amendments that I'd agreed with Charles some years ago for our AMG demo game at Partizan to reflect the smaller units.
In addition movement, firing etc has been reduced by 1/3 again to accommodate the table size and the smaller units.  The only addition I have made is that when I play solo I build in a little bit of friction so each bound the Brigade commanders roll a die on a 1 they can not move towards the enemy - they can retire, shoot, change formation etc. On a 6 if they so wish they can take a double move - no charges, no firing and changing formation must take place in the first move.

The French army had 9 Battalions of foot in 3 brigades , 3 batteries of artillery, a unit of Chasseurs de Fischer and 8 squadrons of horse ( one of which was Marshall Saxe's personal escort ) The French would arrive in three waves over the first three bounds.

To destroy the bridge the engineers rolled a die at the end of each bound once the total reached 24 the bridge was ready to blow. A 5 or 6 would be a successful explosion, if it failed the engineers would need another bound to refuse and then succeed on a 4,5,6 etc.


So with much panoply the French first wave advanced towards the waitng British, Regiment Foix was ordered to take the Farm, the other two regiments were ordered to advance to the South of the farm.The Cuirassiers du Roi were ordered to sweep to the North and clear the enemy cavalry
The British artillery to the North opened fire and caused early casualties to the Cuirassiers


The first two squadrons of Cuirassiers seeking glory launched a charge towards the waiting British, taking cannister  and a first volley from the waiting line one squadron disappeared amidst,smoke, shot and grape - the second struck home

The Curirassiers rolled spectularly ineffective ride down dice only killing one infantry man, the result was the infantry held the cavalry in the first round of combat!!
The second round of combat saw the British infantry break, the Cuirassiers failed to pursue and fell back to rally.
The second two squadrons moved further to the North to engage the Scots Greys
The second brigade of French ( the Irish Brigade were now on the filed)
Regiment Foix occupied the Farm  and Perigod were engaged with the Royal Scots and gaining the upper hand

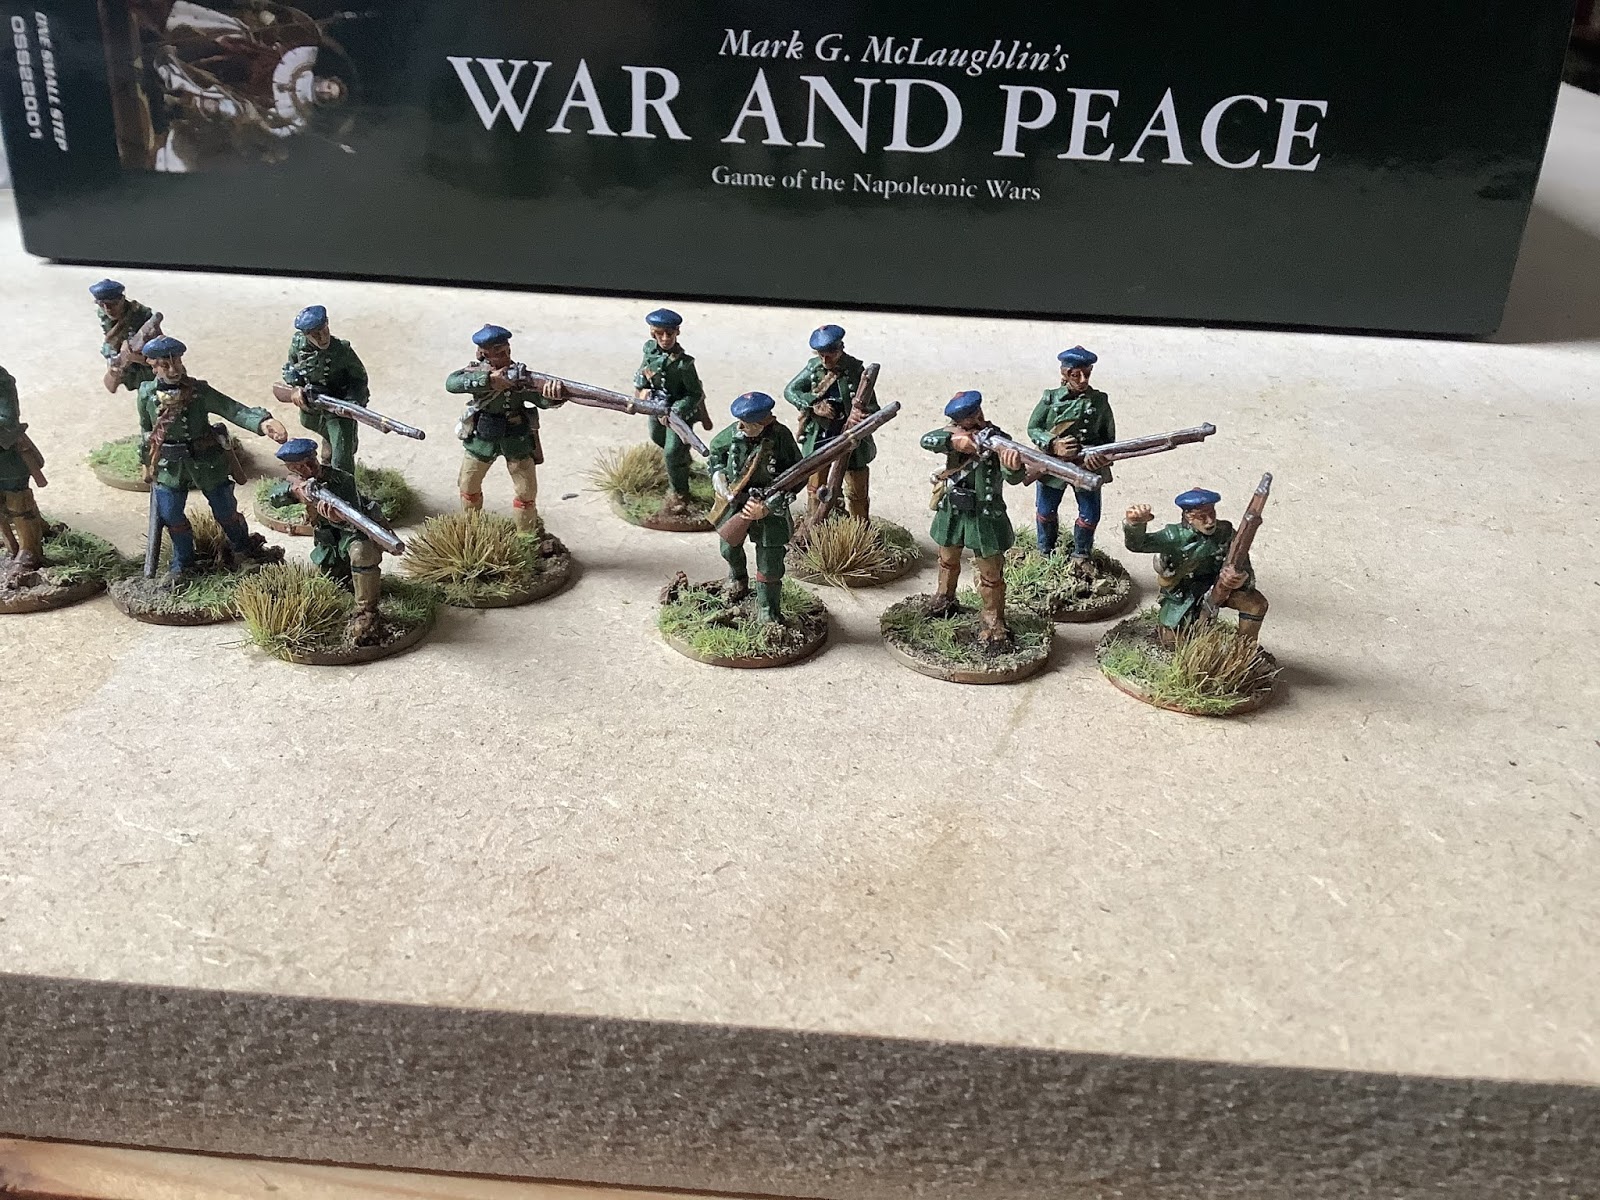
The Allied Jaegers launched an ambush on a battery of guns causing casualties and forcing them to withdraw, The Royal La Marine deployed  to neutralise the threat.


Meanwhile the fight between Cuirassiers and Greys had swung first one way and then the other, one squadron of Greys broke the other withdrew after two rounds of combat.

At this point there was a lull as the Irish Brigade hesitated and did not move forward, this allowed the British line to withdraw back toward the village. Regiment Foix moved out of the farm to commence the assault.


The third wave of French were advancing with a strong cavalry presence on their left.

Major General Graham then decided that he needed to buy more time for his infantry to withdraw and reform so he ordered the squadrons of Cavalry on his right to move forward and attack


A squadron of British Horse managed to catch Foix as they were reforming from the farm breaking them in the combat At the same time Regiment Claire took a horrendous 10 casualties from two volleys and inflicted little in return unsurprisingly the faltered only to then find themselves hit by the successful British Horse breaking upon contact.

The British had bought more time as the French sought to reorganise their lines, it was at this time the Engineers reported that the bridge was ready to blow!


The FGrench moved swiftly round the North pressing hard on the British line, to the South the French cavalry defeated the British horse and moved on to attack the infantry


Saxe even threw his lancers into the British line the Fusiliers under intense pressure eventually broke but once again they had bought time Major General Graham saw that the majority of his force was now safely over the bridge, he could do nothing for the last two regiments and he reluctantly ordered the bridge to be blown.
As you would expect a 5 was thrown and the bridge was destroyed a solid victory for the Allies but a hiogh price had been paid.


A thoroughly enjoyable game and my son is now hooked